chirpy博客改造指北(个人向)
个人野路子改造,有不严谨之处请多多包涵QwQ
感谢github大牛们的珍贵经验&代码!
-
需要具备的知识:HTML、Css、JavaScript知识;(一定的网页组件概念有助于你更快速的理解页面布局格式)
-
从网站的哪些文件开刀?
以Css样式举例
(问就是js不会):-
基础:
To customize the stylesheet, copy the theme’s
assets/css/jekyll-theme-chirpy.scssfile to the same path in your Jekyll site, and add your custom styles at the end of the file.-
chirpy的作者提供了一个官方接口(?),提示可以将自定义Css样式加入这里:
assets/css/jekyll-theme-chirpy.scss。详见:[Getting Started Chirpy (cotes.page)](https://chirpy.cotes.page/posts/getting-started/#customizing-the-stylesheet) -
如何开始加入样式?:
-
组件&网页的最终布局都分别存储在
_includes和_layouts的.html文件中。 -
F12检查网页元素class或id——>改写对应元素Css样式——>在网站中测试、调整效果。如此循环,基本能完成一些简单的改装!
-
最终效果:主要实现了网页自定义&半黑暗背景。
-
这一步中加入的代码:
(由于scss最后会编译成css语言,so我们写成css格式也没有什么问题)
1
2
3
4
5
6
7
8
9
10
11
12
13
14
15
16
17
18
19
20
21
22
23
24
25
26
27
28
29
30
31

#topbar-wrapper {
  background: rgba(0, 0, 0, 0.75);
  border-radius: 0 0 7px 7px;
}

#main-wrapper {
  background-image: url('../img/9407530a.png');
  background-size: 100% auto; /* 宽度自适应,图片长宽比不变 ———— > 偏长的手机背景图最适合*/
  // background-repeat: no-repeat; /* 不设置no-repeat以免图片因文章过长而被拉伸过大,影响美观 */
}

.container {
  background-color: rgba(0, 0, 0, 0.6);
}

// 网页背景图我实在调不了透明度,于是耍赖(不是)————效果不是很满意,后续再说
#post-list, .px-1 {
  background: rgba(0, 0, 0, 0.65);
  padding: 15px 20px;
  margin-top: 20px;
  border-radius: 5px;
}

.post-navigation {
  background: rgba(0, 0, 0, 0.75);
  border-radius: 10px;
}

footer {
  padding: 15px;
}
-
-
-
进阶:
随着基础步骤的逐步改造,可能会遇到以下问题:
- 自己加入的Css样式不生效
- 想要进行别的改造(如加入额外的社交网址图标),不知道如何下手
- ……
这个时候就需要前往改写别的文件了。
Starting with version
6.2.0, if you want to overwrite the SASS variables defined in_sass/addon/variables.scss, copy the main SASS file_sass/main.scssto the_sassdirectory in your site’s source, then create a new file_sass/variables-hook.scssand assign your new values there.由于大前期我已经把所有隐藏文件copy了出来,因此可以直接前往对应的
.scss文件中进行改写。
-
-
可以参考的资料:
-
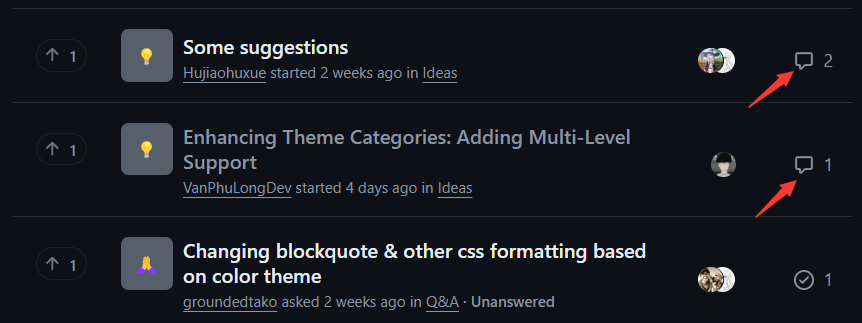
 github discussions:cotes2020/jekyll-theme-chirpy · Discussions · GitHub
重点抓(bushi)有如下标志的这类野生大牛(崇拜ing):
-
大牛の博客:
-